
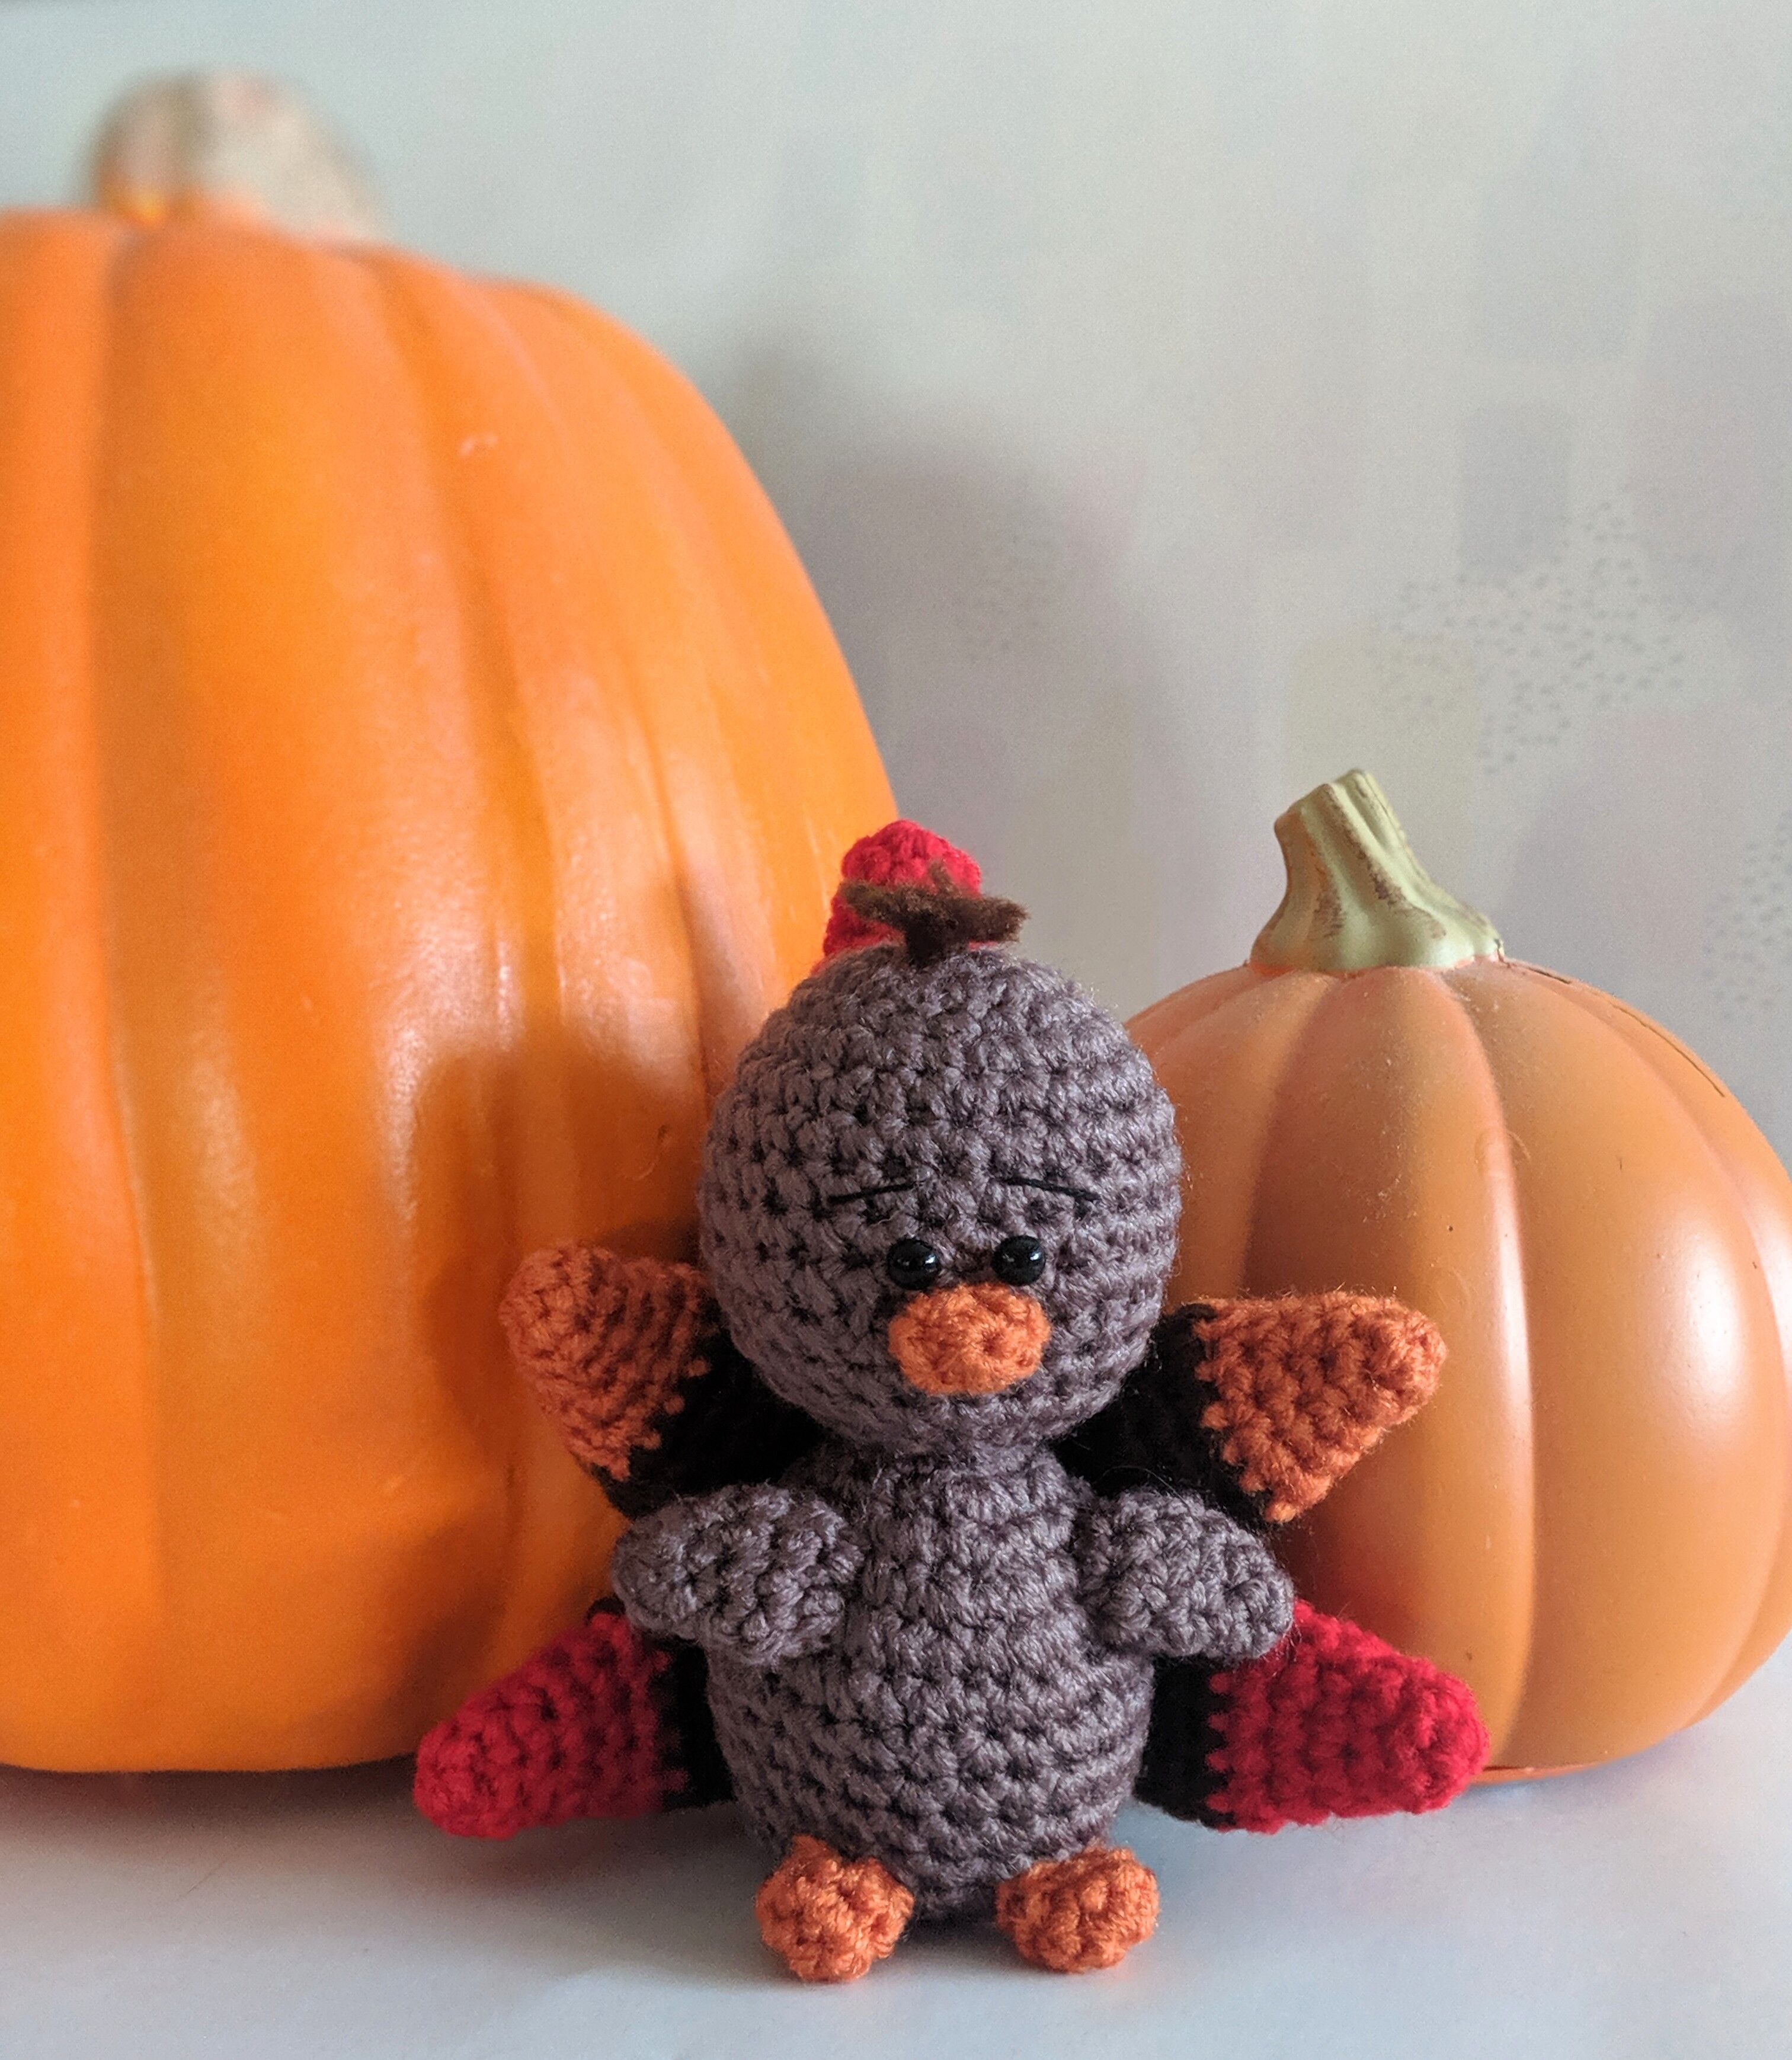
Get into the Thanksgiving spirit by making flock of this feathery little cute turkeys! Welcome to the November Furls Crochet Amigurumi CAL! Get your Furls hook ready and make a few of these feathery friends to grace your dinner holiday table, or give as a sweet little house warming gift!

Add this pattern to your Ravelry favorites
ABOUT OUR DESIGNER
Jackie Laing is the designer behind A[mi]dorable Crochet. Jackie lives in northern B.C. Canada with her daughter and furry family members. She has been playing with yarn and her favourite hooks since 2009. Jackie enjoys making amigurumi and draws inspiration from her favourite music, movies and tv shows! Jackie has designed some amazing creations for our Furls Family. You can find all of them HERE.
Follow Jackie
Facebook | Instagram | Pinterest

SUPPLIES
* Bernat Super Value Yarn in (less than one skein of each color)
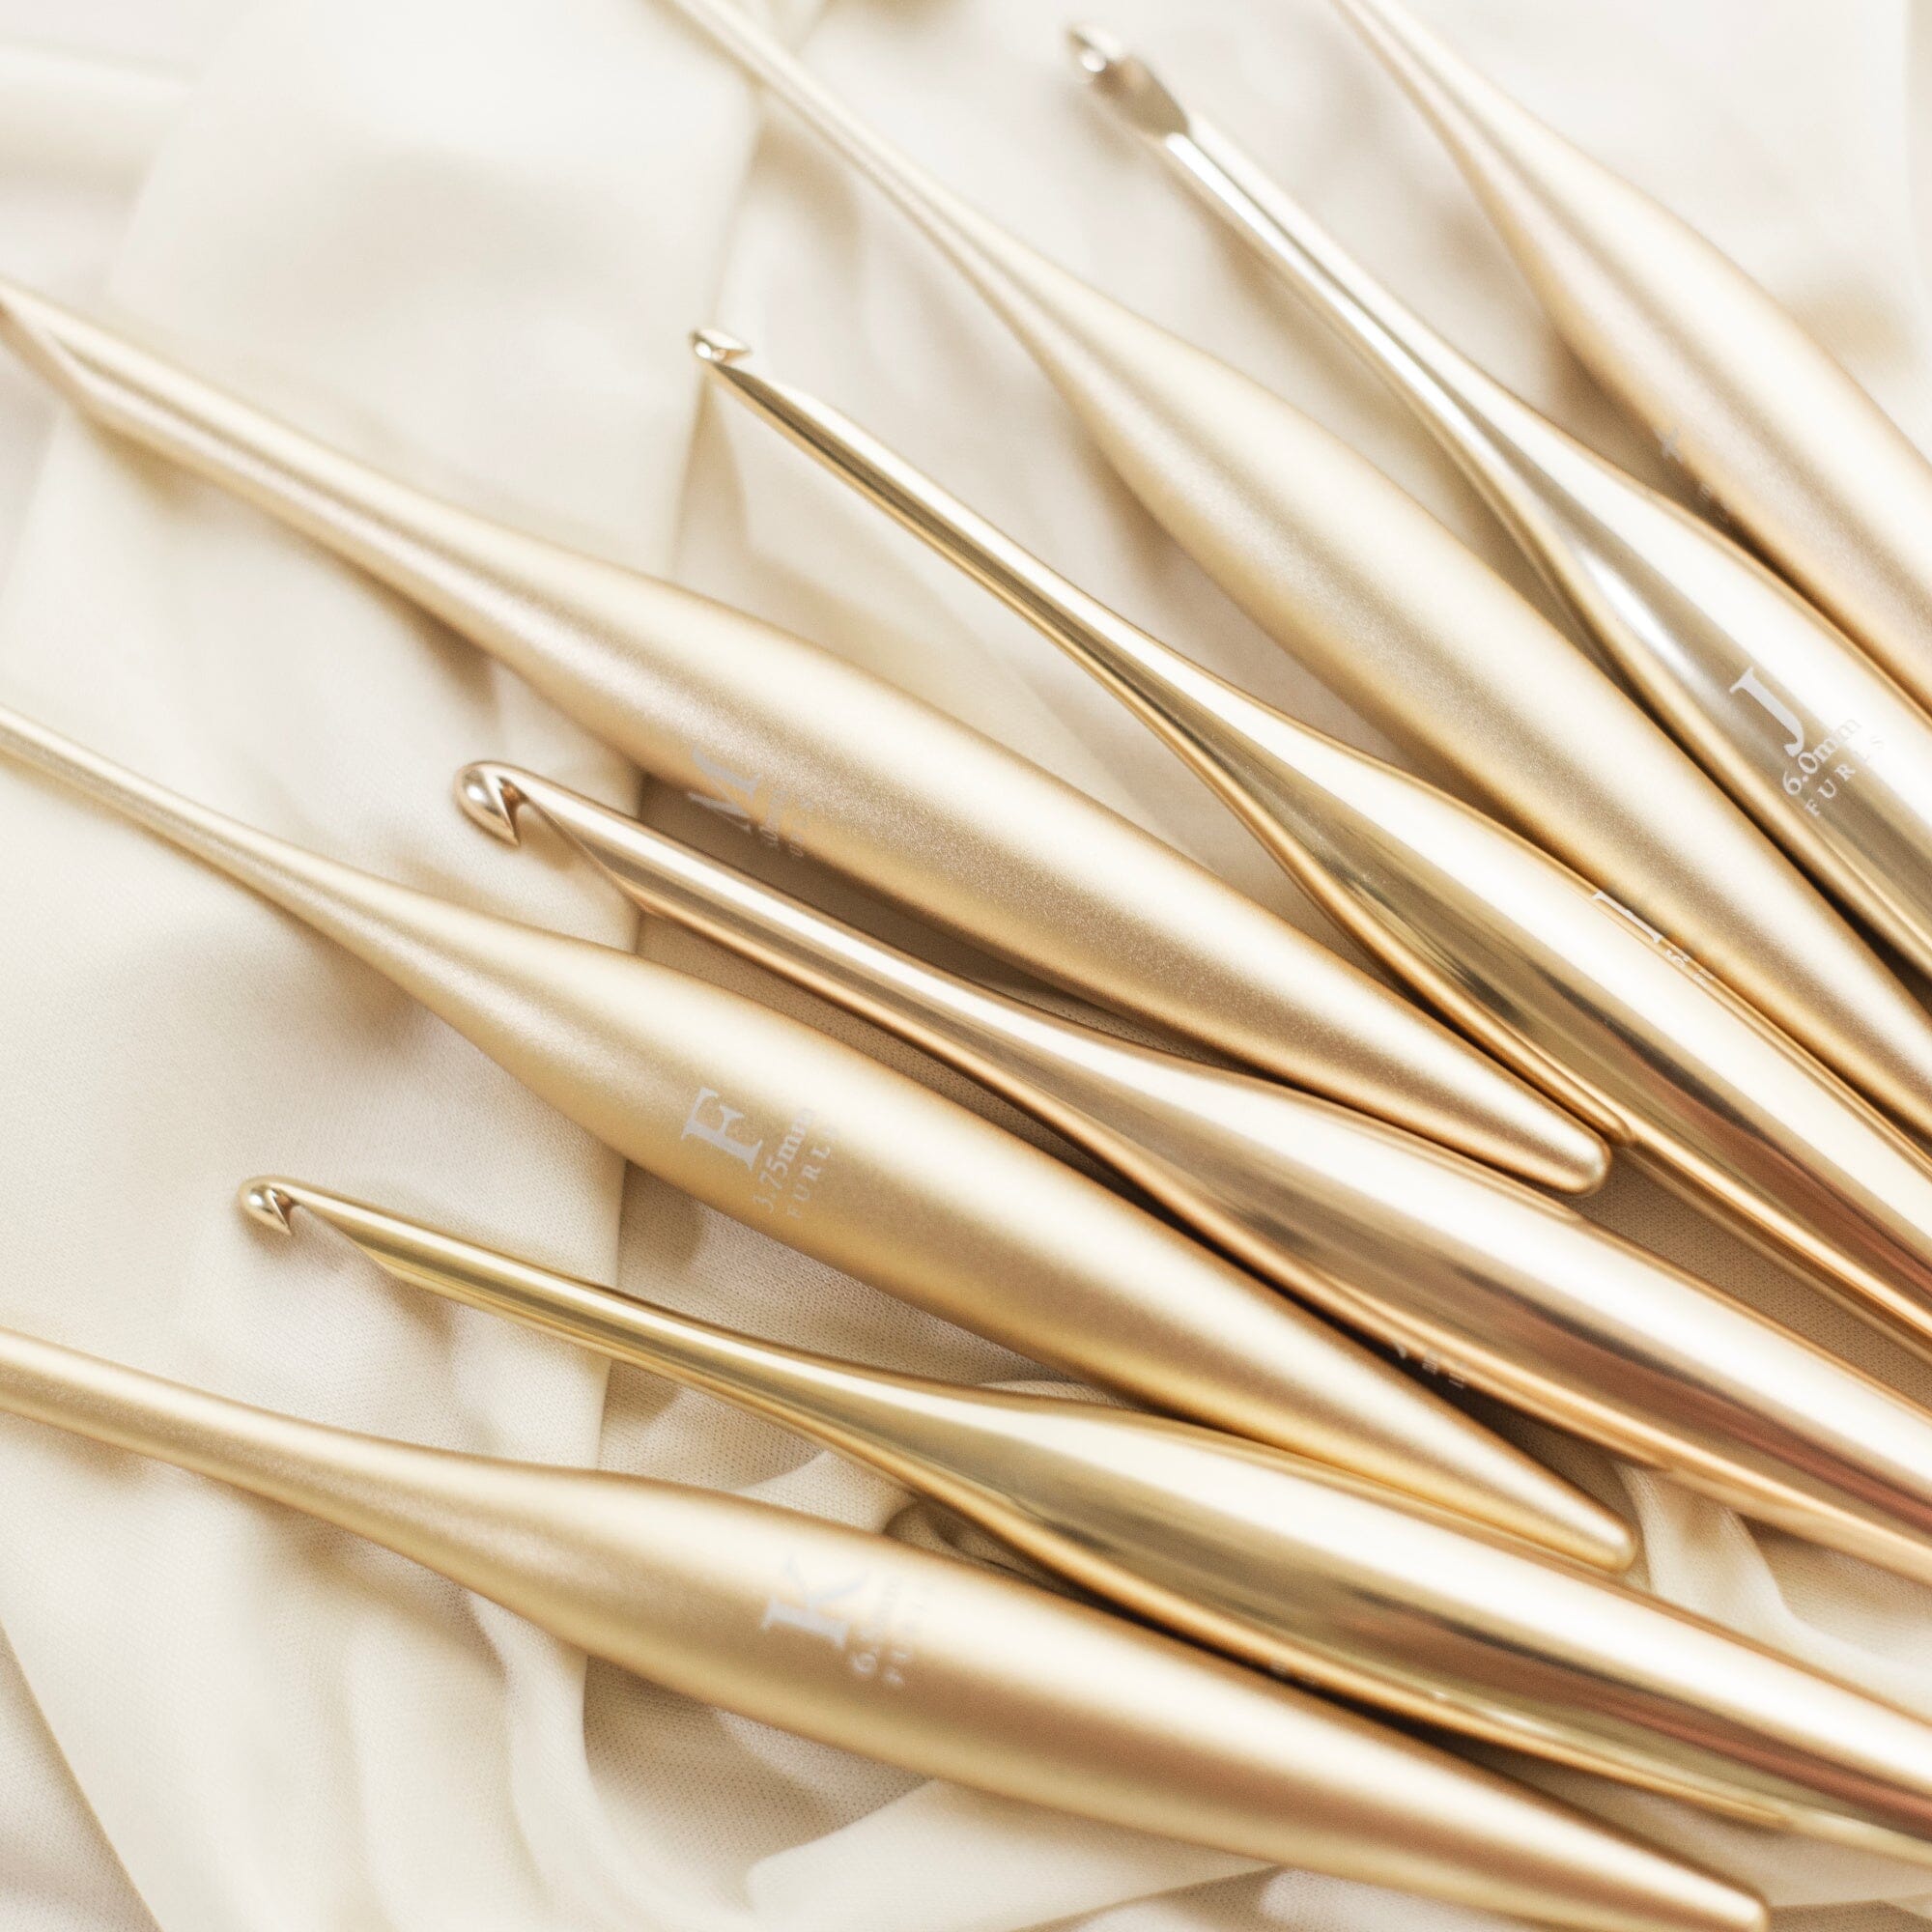
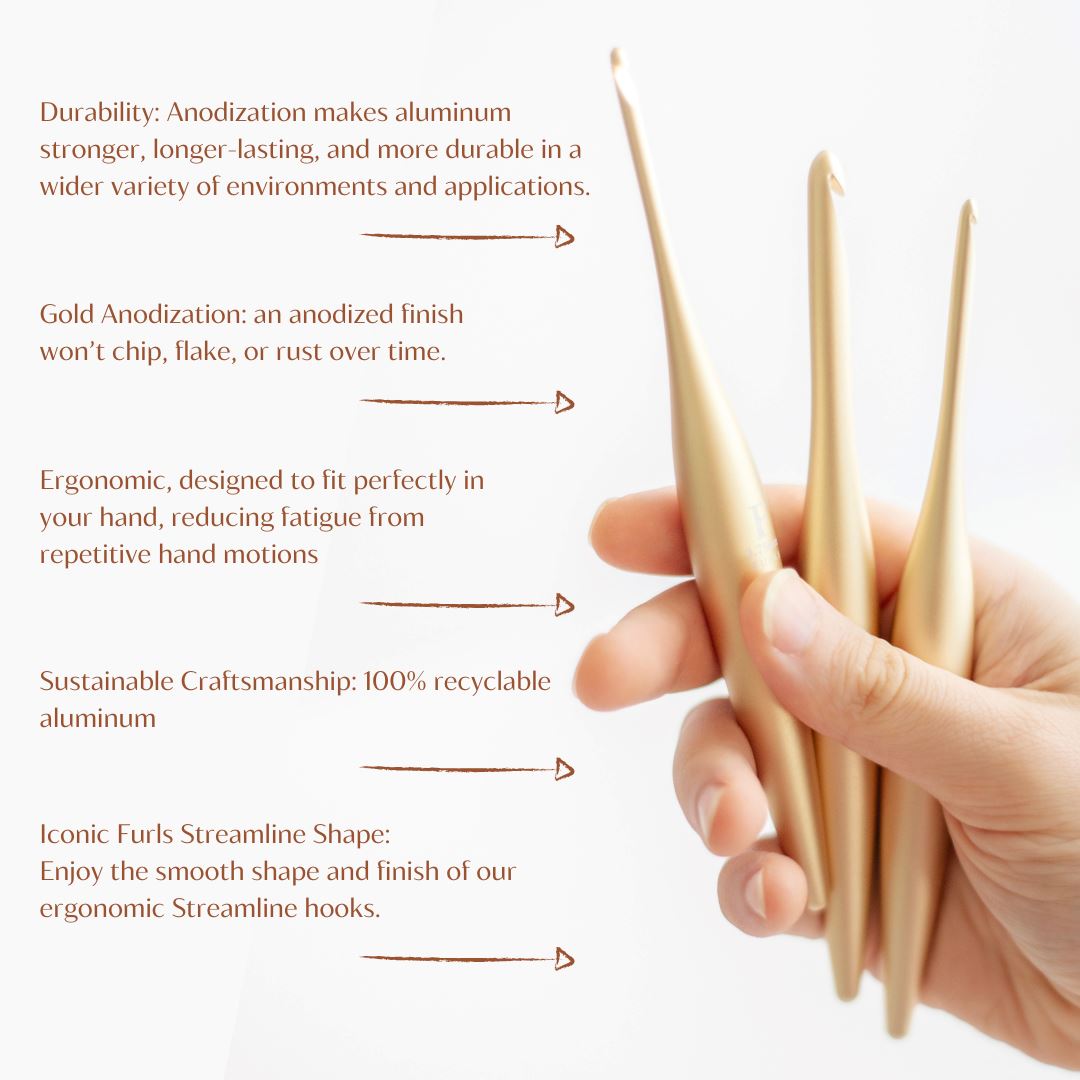
* Furls Crochet Odyssey Hook size E/3.5mm - Jackie used her Yellow Odyssey
* 6.5mm safety eyes
* Black thread for the eyebrows and mouth
* Stuffing
* Scissors

PATTERN DETAILS
Finished Size5 inches tall
PART ONE
This week we are going to be making our Turkey's Head and Body.Rnd1: Starting at the top of your turkey’s head with brown yarn sc x 6 in a magic ring, or ch x 2 and do 6sc in the second chain from your hook (6)
Rnd2: Inc x 6 (12)
Rnd3: [Sc, in] x 6 (18)
Rnd4: Sc x 18 (18)
Rnd5: [Sc, inc] x 9 (27)
Rnd6-8: Sc x 27 (27)
Rnd9: You will be adding the safety eyes in this round. Sc x 11, place your first eye in the last stitch you just did, sc x 2, place your second eye in the last stitch, sc x 14 (27)
Rnd10: Sc x 27 (27)
Rnd11: Sc, [sc x 3, dec] x 5, sc (22)
Rnd12-13: Sc x 22 (22)
Rnd14: Dec x 11 (11)
Rnd15: Stuff your turkey firmly. Sc, dec x 5 (6)
Rnd16: Inc x 6 (12)
Rnd17: [Sc, inc] x 6 (18)
Rnd18: [Sc, inc] x 9 (27)
Rnd19:Sc, [sc x 4, inc] x 5, sc (32)
Rnd20-21: Sc x 32 (32)
Rnd22: Sc x 2, [sc x 3, dec] x 6 (26)
Rnd23-26: Sc x 26 (26)
Rnd27: Stuff your turkey firmly, dec x 13 (13)


Beak
Rnd1: Starting at the tip of the beak with orange yarn sc x 6 in a magic ring, or ch x 2 and do 6sc in the second chain from your hook (6)
Rnd2: Sc x 6, leave a long tail and fasten off (6)

PART TWO
This week we are working on our finishing touches, feet, feathers and wings and then assembling our little gobble gobble turkeys. Just in time for Thanksgiving.
Feet (make 2)
Rnd1-2: Work same as the beak, but do not fasten off! (6)
Rnd3: Sc x 6, leave a long tail and fasten off (6)
Small Feather (make 4)
Rnd1: Starting at the tip of the feather with the color of your choosing sc x 6 in a magic ring, or ch x 2 and do 6sc in the second chain from your hook (6)
Rnd2-3: Sc x 6 (6)
Rnd4: [Sc, inc] x 3 (9)
Rnd5: Sc x 9 (9)
Rnd6: [Sc x 2, inc] x 3 (12)
Rnd7: Switch to brown yarn and sc x 12 (12)
Rnd8-10: Sc x 12 (12)
Rnd11: [Sc x 2, dec] x 3 (9)
Rnd12: Sc x 9 (9)
Rnd13: [Sc, dec] x 3, leave a long tail and fasten off (6)

Large Feather (make 1)
R1-12: Work the same as the small feather.
Rnd13-14: Sc x 9 (9)
Rnd15: [Sc, dec] x 3 (6)
Rnd16: Sc 6, leave a long tail and fasten off (6)
Wing (make 2)
Rnd1: Starting at the tip of your wing with brown yarn sc x 6 in a magic ring, or ch x 2 and do 6sc in the second chain from your hook (6)
Rnd2-3: Sc x 6 (6)
Rnd4: [Inc, sc] x 3 (9)
Rnd5: Sc x 9 (9)
Rnd6: [Sc, dec] x 3 leave a long tail and fasten off (6)
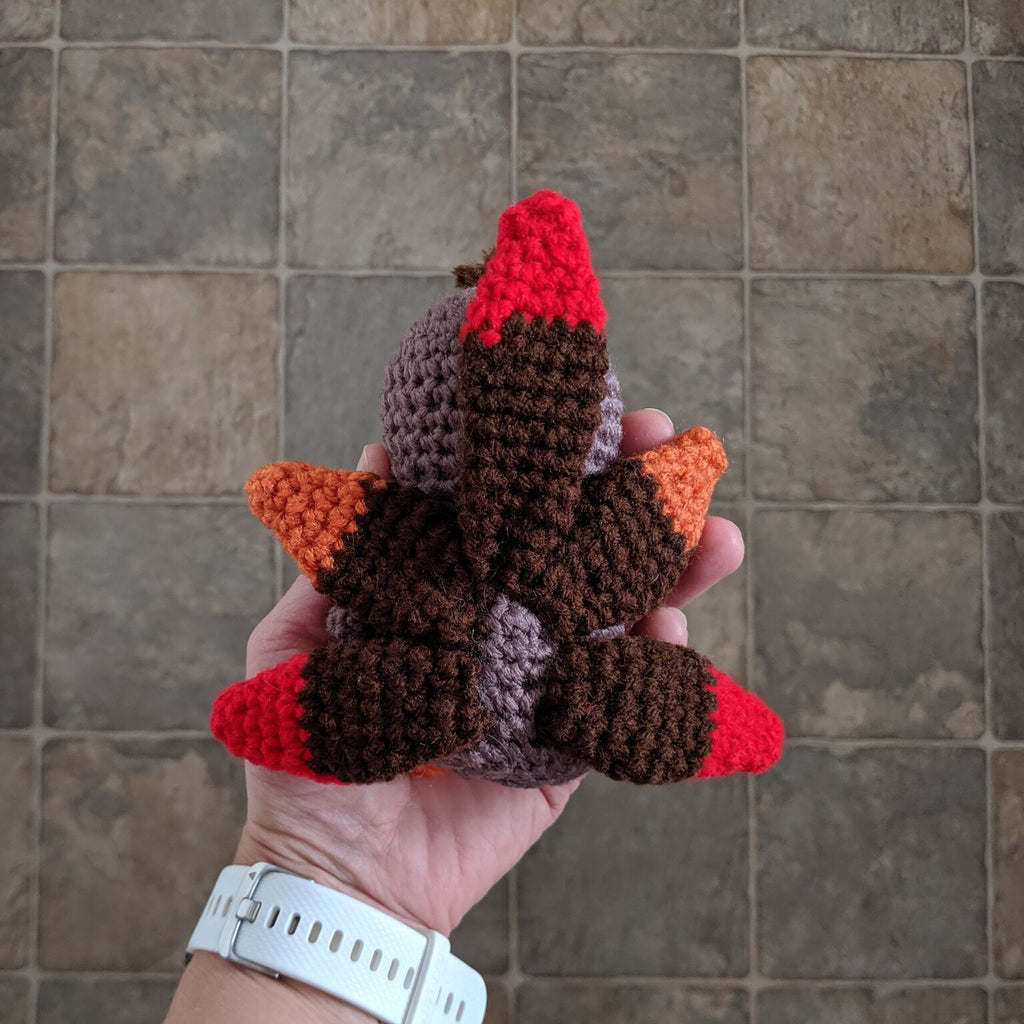
Assembly
Make sure your turkey is stuffed firmly weave in the ends. Sew on the feet, wings and beak. I use dressmaking pins to attach the pieces to the body, placing them where I feel they look best. Sew them in place, and trim your ends. See the photo of the back of the turkey to give you an idea on placement for the feathers. With the one large feather in the middle. Sew on eyebrows. Cut a few strands of yarn and weave them thru a loop on the top of your turkey’s head and trim them. Now enjoy your new feathery friend!