

The Andean Peaks Crochet Hat is a stylish yet approachable crochet project that blends beautiful texture with everyday wearability. Featuring a striking tri-stripe design and eye-catching peaked spike stitches, this free crochet hat pattern includes a helpful video tutorial to guide you every step of the way. Whether you prefer a relaxed slouchy fit or a classic beanie style, this quick-working pattern offers both options, making it a versatile and rewarding make for confident beginners and beyond.
Updated 12/22/2025

About this Pattern:
Crochet a cute and cozy Andean Peaks Crochet Hat, with a lovely tri-stripe pattern and gorgeous peak stitches. It's an easy stitch, but it has a stylish effect. This chic hat works up rather quickly and this free pattern includes instructions for a slouchy-style hat as well as a beanie-fit hat. You decide which hat you'd prefer!

Supplies Needed:
-
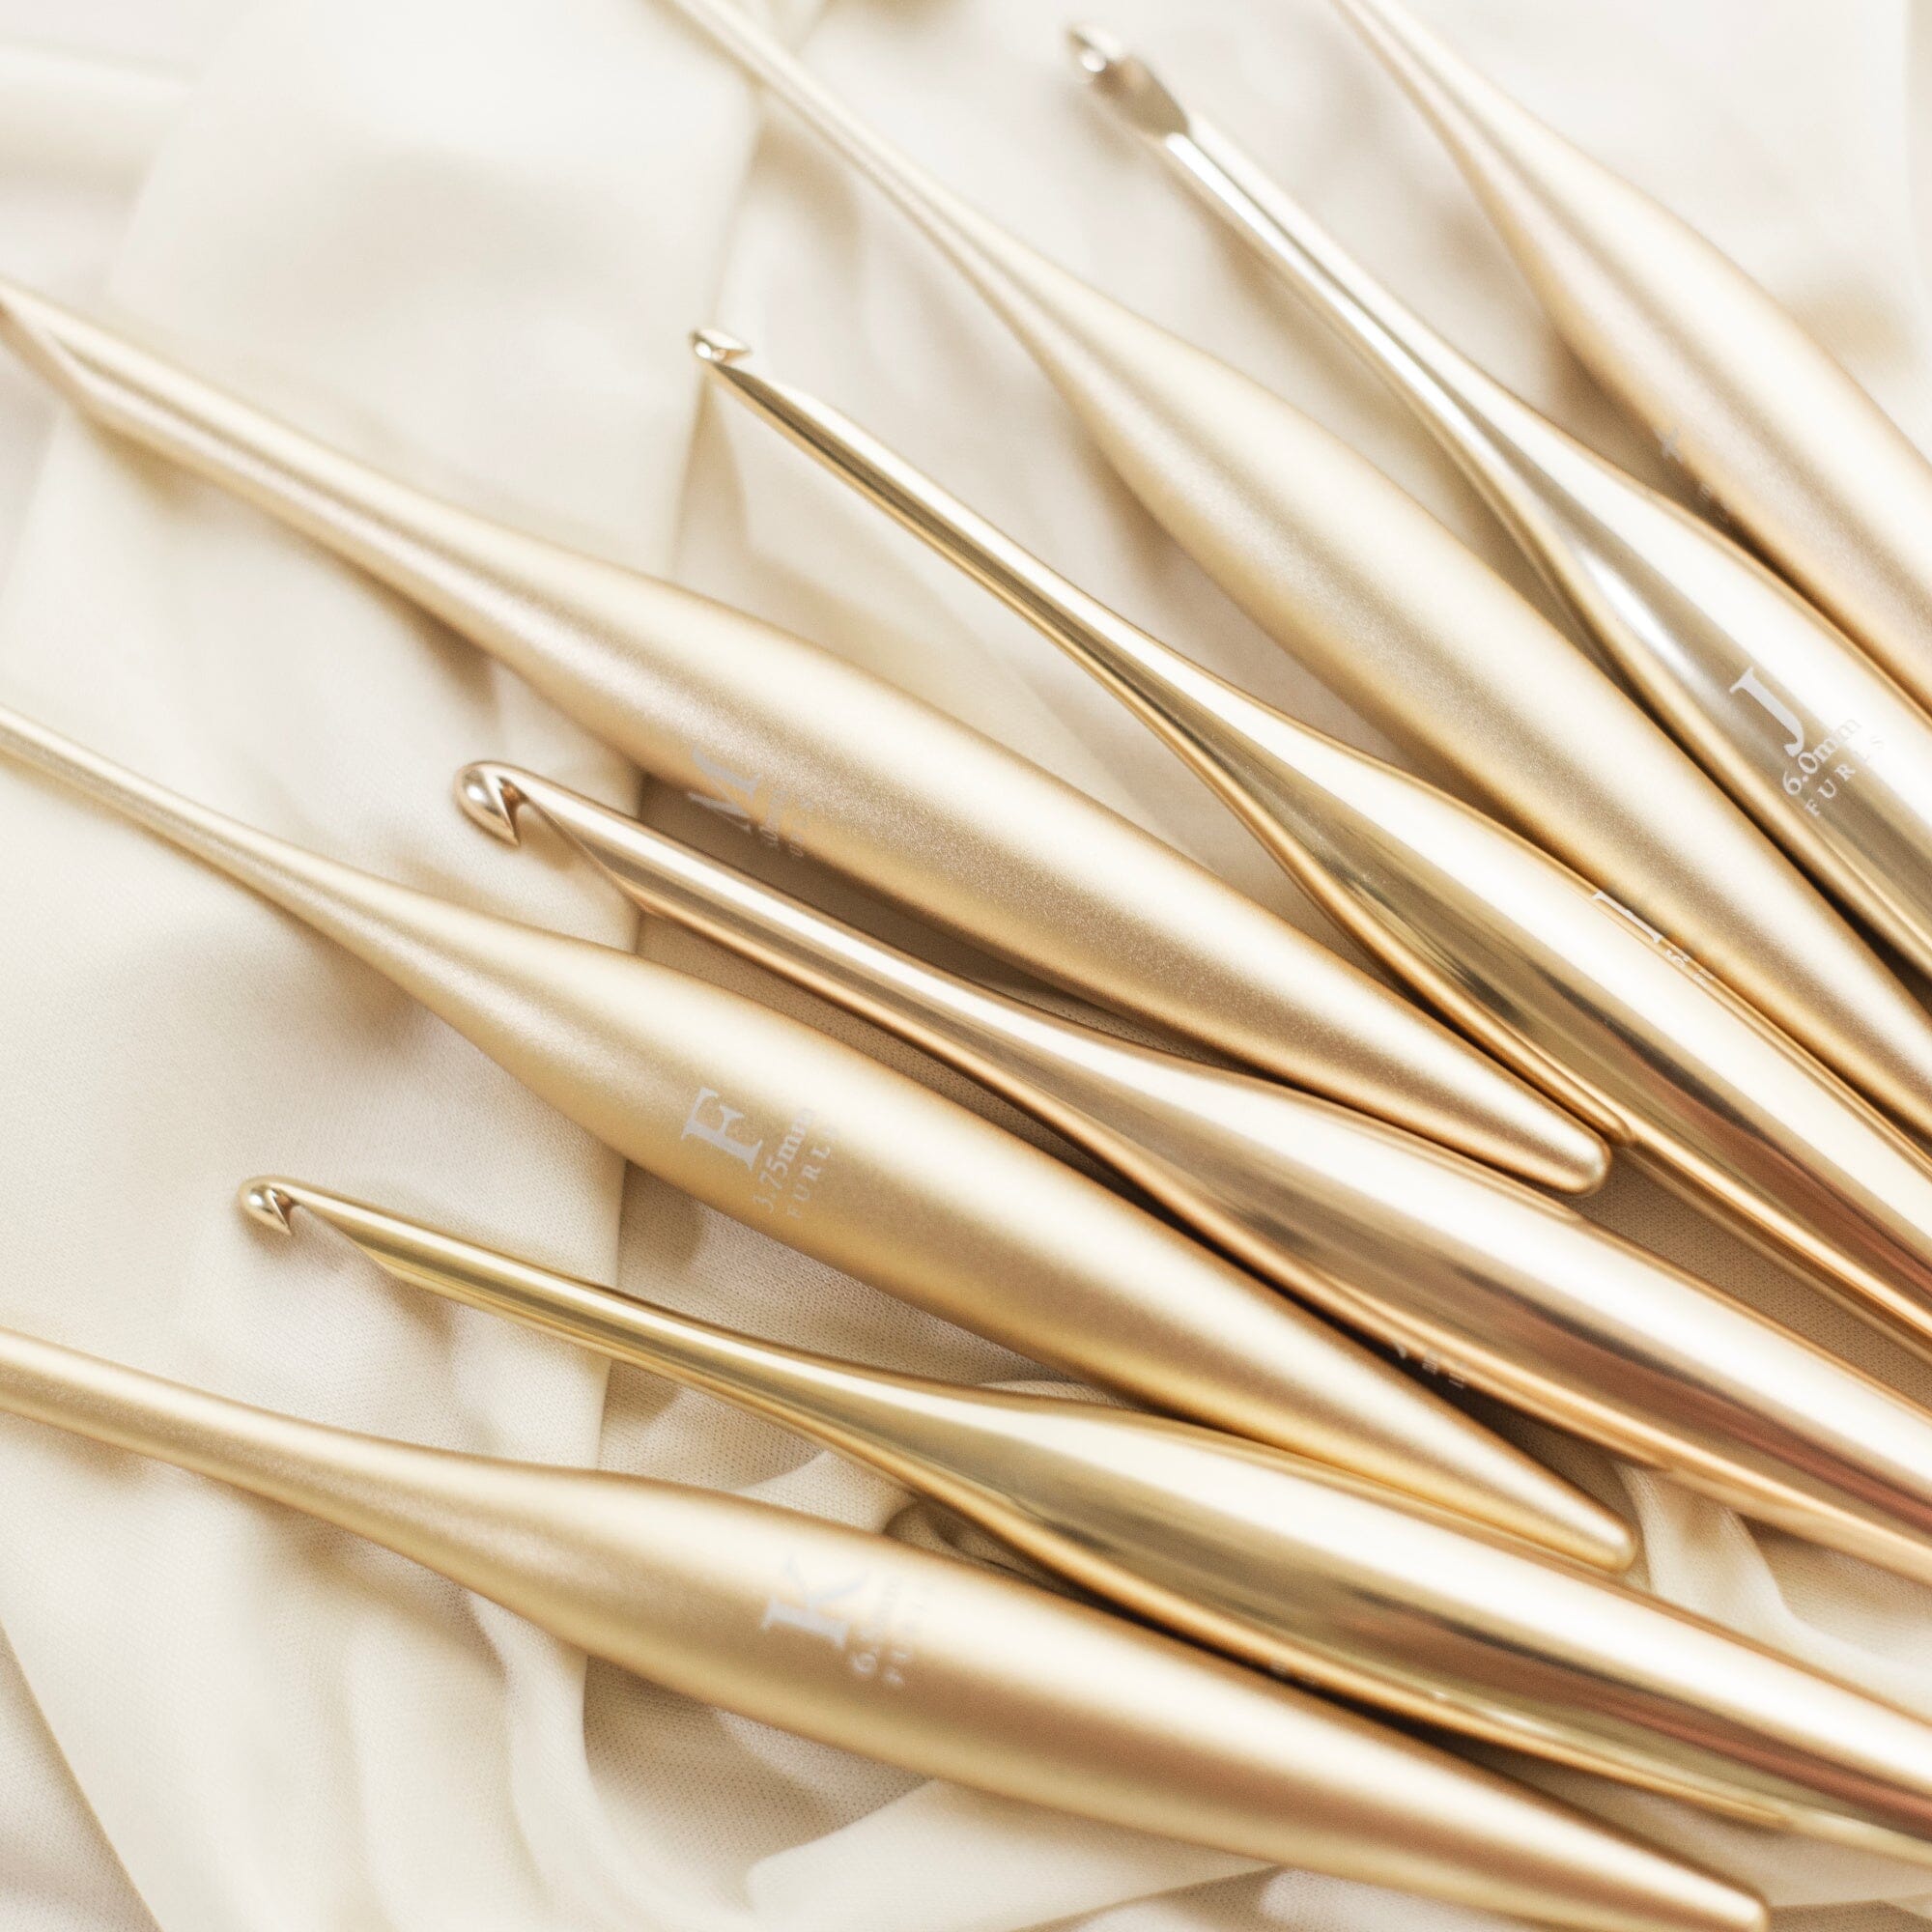
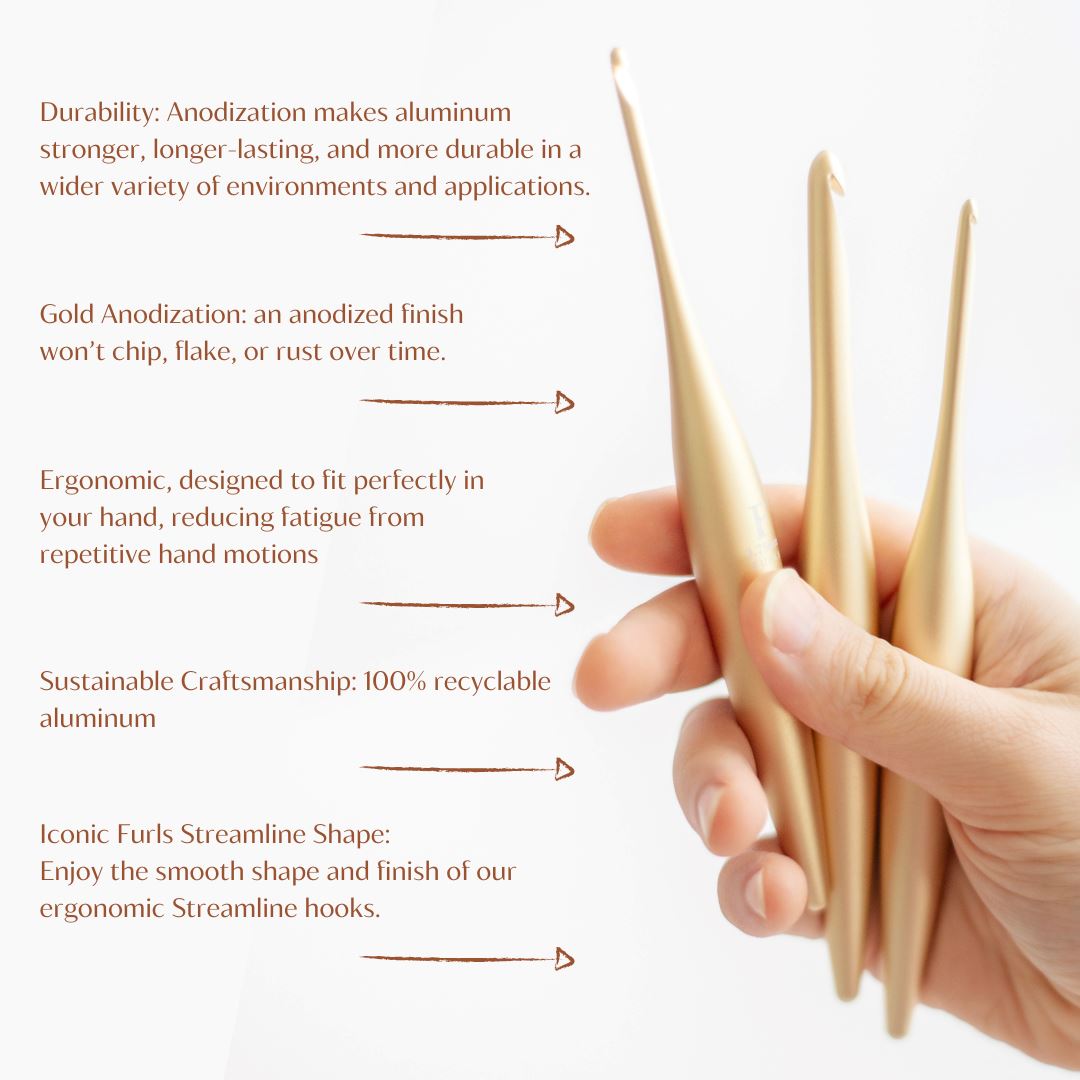
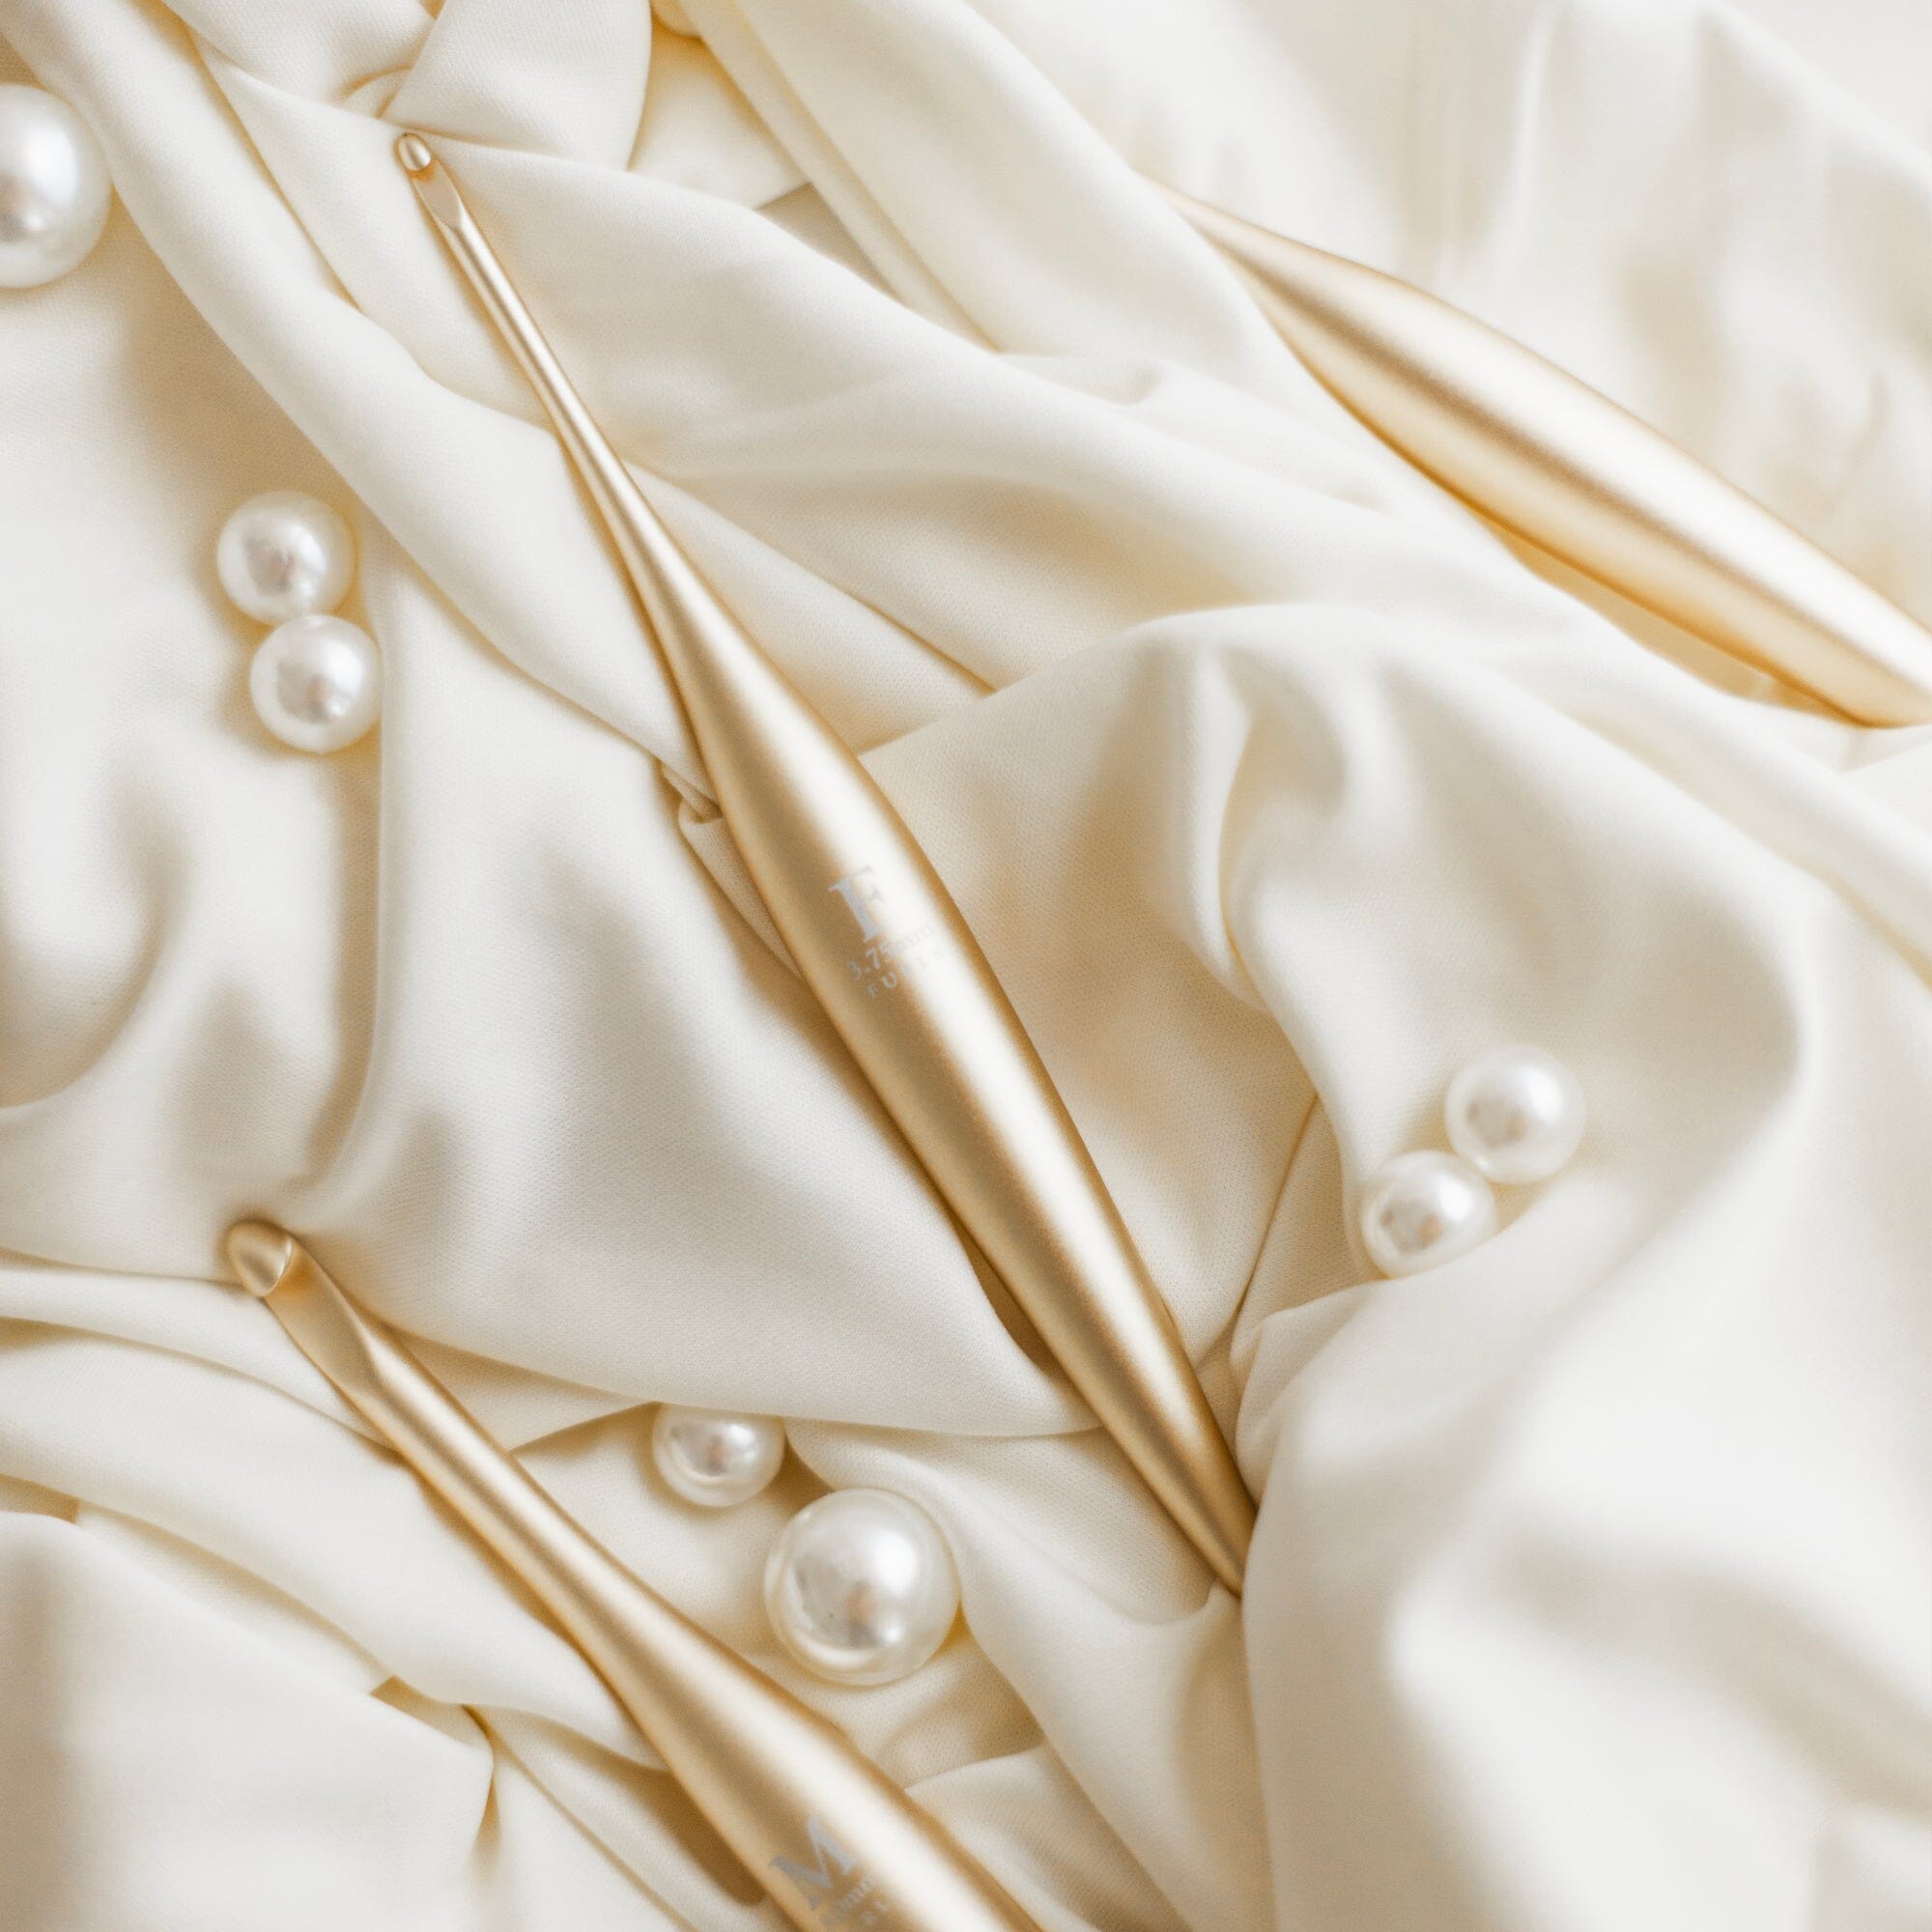
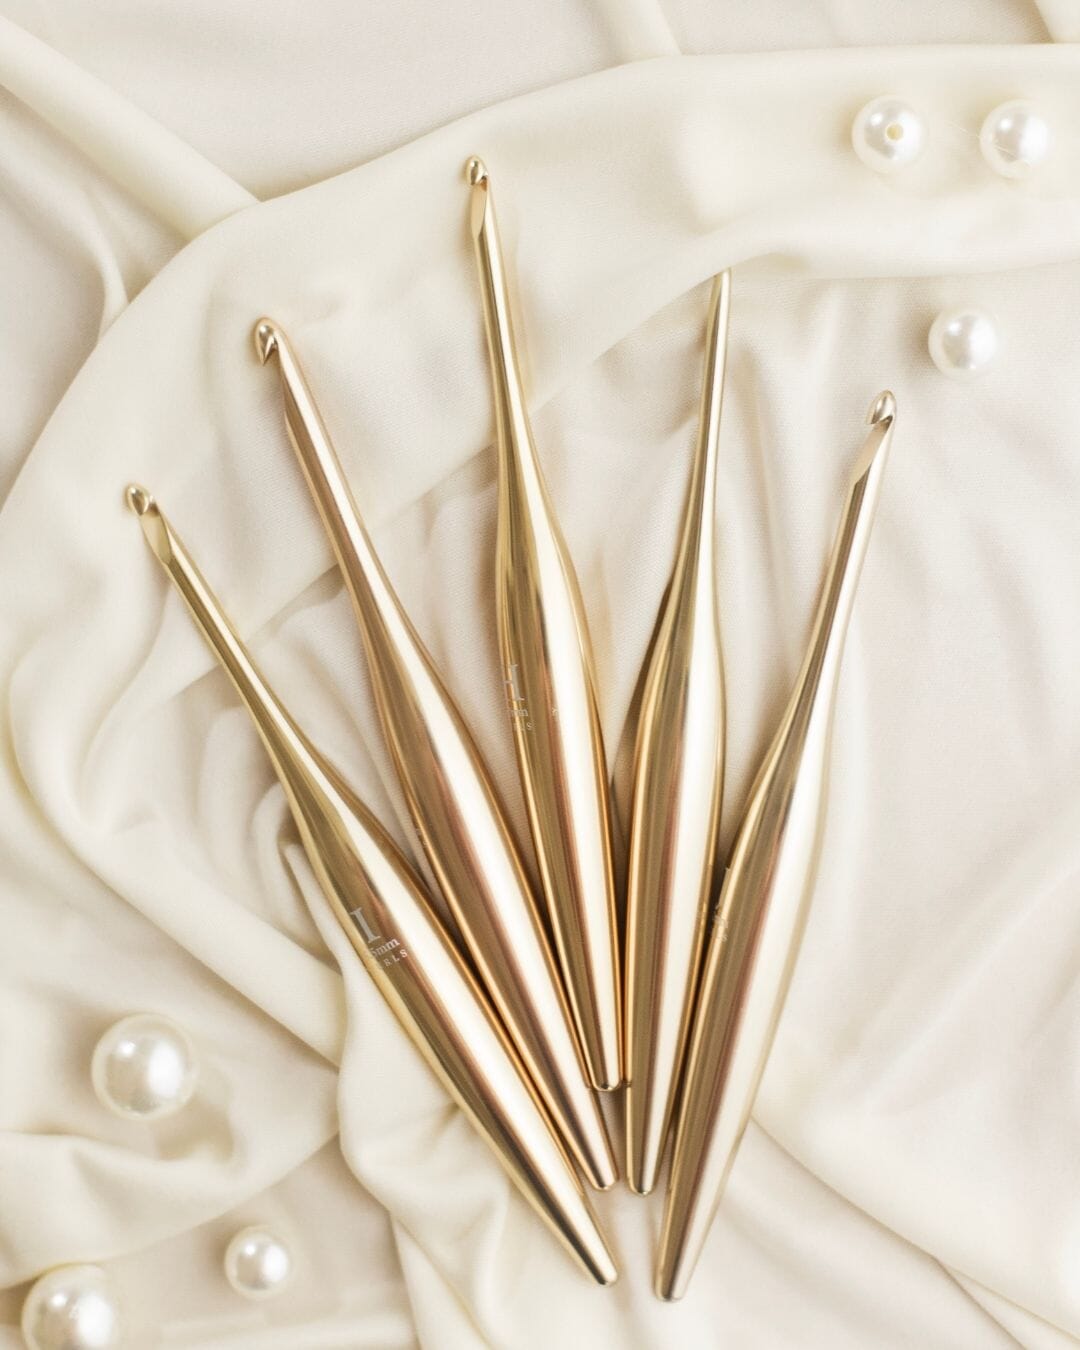
Furls Crochet Hook, Size H/5.00mm (or hook to meet gauge)
- Medium Weight Yarn (Sample uses Knit Picks Mighty Stitch in Conch, Marina and Mint)
- Darning needle
- Optional- PomPom- handmade using this tutorial
Gauge: 14 dc = 4″
One of my favorite parts about starting a new crochet project is picking out a color palette. Many of my designs include 2 or more colors, and it's so fun to mix and match different ones. You can make this hat all one color, for which you will only need one 100g skein of yarn (208 yards). However, if you enjoy playing with colors as I do, you can use three colors.
For the slouchy hat, I used Knit Picks Mighty Stitch in Silver, Conch, Marina and Mint. For the beanie hat, I used Knit Picks Mighty Stitch in Silver, Sky and Cream.
You may also want to top it off with a pom pom!

Spike Stitch Tutorial Video
Here is a video stitch tutorial for the spike stitch used in the Andean Peak CAL.

This tutorial features simple dc and hdc stitches, placed in specific places to give the effect of spikes cascading down the hat. NOTE: The video below demonstrates the stitch pattern only. Due to the nature of the hat, the stitch repeats will change slightly over the course of the hat, but this is specified clearly within the pattern. The video tutorial will teach you the proper placement for the stitches!
So grab your 5.0mm hook and your yarn and let's get started with this fun new tutorial. Once you get this stitch down you will be all ready to make your own Andean Peaks Crochet Hat.
Spike Stitch Tutorial for Andean Peaks Hats
Crochet Hat Instructions:
Slouchy Fit:
Band: (using 1st color)
Ch 7.
1. Hdc in 2nd ch from hook. Hdc 5. Turn.
2. – 46. Ch 1. Hdc in same st. Hdc 4 in back loops only. Hdc in last st, through both loops.
Band should be very stretchy, and should be approx. 15″ long UNSTRETCHED. This measurement is only accurate if you haven’t stretched it around your head yet. It should be stretchy enough to stretch several inches. I provide this measurement only because many people ask for it. If yours doesn't seem stretchy due to your gauge or yarn choice, feel free to change the number of rows to fit your head.
Fold in half, sl st both ends together forming a band. Turn inside out so the seam is on the inside, and the loop is on the top. Continue to step 1 of the body.
Body:
1. Ch 1. Sc 70 around the top, working about 3 sc sts across 2 hdc rows.
Join with a sl st using 2nd color.
2. - 4. Ch 1. Dc in each st around. Join with a sl st 2nd color. (70 sts )
5. Ch 1. *Hdc 2. Sk next st. Working down in the dc from previous row, 3 hdc in same sp. Sk next st. * repeat 14 times. Join with a sl st. (70 sts)
6. - 7. Ch 2. Dc in each st around. Join with sl st.
On 7th row, join with a sl st using 4th color.
8. Ch 1. Hdc in same st. *Sk 1 st. Working down in the dc from previous row, 3 hdc in same sp. Sk next st. Hdc 2.* work 13 times. Sk next st. Working down in the dc from previous row, 3 hdc in same sp. Sk next st. Hdc in last st. Join with a sl st. (70 sts)
9. - 10. Ch 2 Dc in each st around. Join with a sl st.
After the 10th row, join with sl st using 2nd color.
11. Ch 1. *Hdc 2. Sk next st. Working down in the dc from previous row, 3 hdc in same sp. Sk next st. * repeat 14 times. Join with a sl st. (70 sts)
12. - 13. Ch 2. Dc in each st around. Join with sl st. (70 sts)
After the 13th row, join with a sl st using 3rd color.
14. Ch 1. Hdc in same st. *Sk 1 st. Working down in the dc from previous row, 3 hdc in same sp. Sk next st. Hdc 2.* work 13 times. Sk next st. Working down in the dc from previous row, 3 hdc in same sp. Sk next st. Hdc in last st. Join with a sl st. (70 sts)
15. - 16. Ch 2 Dc in each st around. Join with a sl st.
After the 16th row, join with sl st using 4th color.
17. Ch 1. *Hdc 2. Sk next st. Working down in the dc from previous row, 3 hdc in same sp. Sk next st. * repeat 14 times. Join with a sl st. (70 sts)
18. Ch 2. Dc in same st. *Dc2tog. Dc in next st* work 23 times. (47 sts)Join.
19. Ch 2. Dc2tog 23 times. Dc in last st. (24 sts). 
Finishing: Thread a length of yarn onto a darning needle. Turn hat inside out. Sew a running stitch around the top. Pull both ends to cinch closed and tie a firm knot. Finish by sewing on a pom pom. 


Beanie Fit:
(Sky, Cream, Silver)
Band: (Using 1st color)
Ch 7.
1. Hdc in 2nd ch from hook. Hdc 5. Turn.
2. – 46. Ch 1. Hdc in same st. Hdc 4 in back loops only. Hdc in last st, through both loops.
Band should be very stretchy, and should be approx. 15″ long UNSTRETCHED. This measurement is only accurate if you haven’t stretched it around your head yet. It should be stretchy enough to stretch several inches. I provide this measurement only because many people ask for it. If yours doesn't seem stretchy due to your gauge or yarn choice, feel free to change the numbers to fit your head.
Fold in half, sl st both ends together forming a band. Turn inside out, so the seam is on the inside, and the loop is on the top. Continue to step 1 of the body.
Body:
1. Ch 1. Sc 70 around the top, working about 3 sc sts across 2 hdc rows. Join with sl st using 2nd color.
2. - 3. Ch 2. Dc in each st around. Join with sl st.
Join row 3 with sl st using 3rd color.
4. Ch 1. *Hdc 2. Sk next st. Working down in the dc from previous row, 3 hdc in same sp. Sk next st. * repeat 14 times. Join with a sl st. (70 sts)
5. - 6. Ch 2. Dc in each st around. Join with sl st.
Join 6th row with a sl st using 1st color.
7. Ch 1. Hdc in same st. *Sk 1 st. Working down in the dc from previous row, 3 hdc in same sp. Sk next st. Hdc 2.* work 13 times. Sk next st. Working down in the dc from previous row, 3 hdc in same sp. Sk next st. Hdc in last st. Join with a sl st. (70 sts)
8. - 9. Ch 2. Dc in each st. Join with sl st.
Join row 9 with sl st using 2nd color.
10. Ch 1. *Hdc 2. Sk next st. Working down in the dc from previous row, 3 hdc in same sp. Sk next st. * repeat 14 times. Join with a sl st. (70 sts)
11. - 12. Ch 2. Ch 2. Dc in each st. Join with sl st.
Join row 12 with sl st using 3rd color.
13. Ch 1. Hdc in same st. *Sk 1 st. Working down in the dc from previous row, 3 hdc in same sp. Sk next st. Hdc 2.* work 13 times. Sk next st. Working down in the dc from previous row, 3 hdc in same sp. Sk next st. Hdc in last st. Join with a sl st. (70 sts)
14. Ch 2. Dc in same st. *Dc2tog. Dc in next st* work 23 times. Join with sl st. (47 sts)
15. Ch 2. Dc in same st. Dc2tog 23 times. (24 sts)
16. Ch 2. Dc2tog 12 times. Join with sl st. (12 sts).
Tie off. Leave a long tail. Using your tail, sew the small hole closed. 

About Our Designer:

Hello friend! I'm Bethany, and I am the designer and blogger behind Whistle and Ivy, a creative crochet blog. On Whistle and Ivy, you will find lots of free crochet patterns, a bit of needle art and the tiniest dab of knitting. I love making all types of projects, from baby booties to home decor, and I really enjoy designing pretty hats that impress your friends when they as where you got it.