
Changing Tides Beach Cover- Part One
Are you ready to get started? Last week we released the supply list for the Changing Tides Beach Cover, you can find that here. You can also see who won the giveaway for the three Candy Shop hooks and yarn from Knit Picks. We also included one copy of our new Masterclass, Decoding Chevrons in the giveaway.

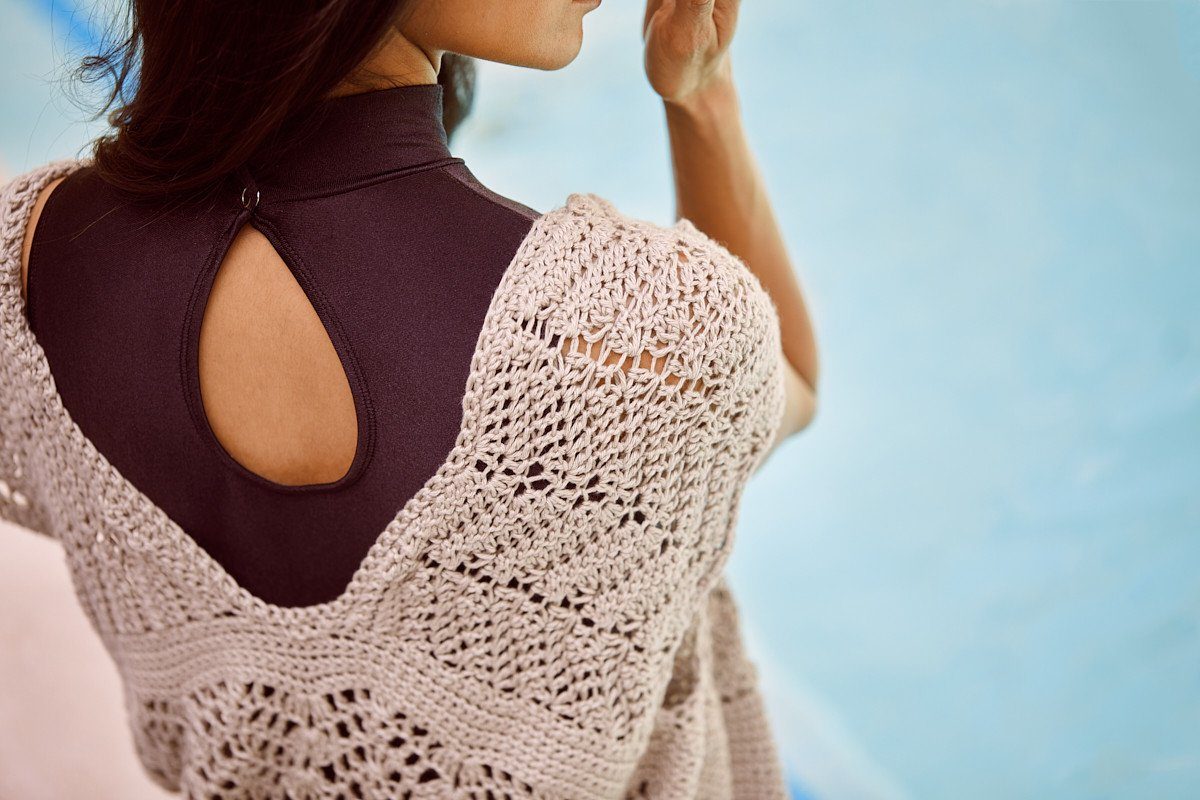
This week we are going to make the top portion of the Changing Tides Beach Cover. This top is worked a little differently than you may have worked garments in the past.
The top is created by crocheting two individual panels, that are then stitched together along the sides to create an empire waist. Short rows are utilized to make the front of the waistline thicker than the rest to create a shape that is flattering to every figure.
Some people have asked about customization, which I will be happy to provide help with, in our Facebook group, Fun with Furls or on the Ravelry listing.
Some things that can be customized are
* the length of the sleeves (though this must be completed at the end, before finishing)
* the thickness of the waistline (great for girls with a larger bosom or those who are tall)
* the overall width of the top section (girth)
* the overall length of the garment (you can make it shorter, or even go longer for a duster)
* The bottom portion can be made fuller (great for those like me with a more ample rear)
* and of course you can change colors anywhere that you like.
I am going to write the pattern as shown in our samples first. At the bottom of the post(s) you will find some general information for customizing, as it would be too much to write out the full instructions for every single customization in every size. However, these instructions for customization should be easy to grasp, and I am more than happy to provide individual help.

Let's get to making
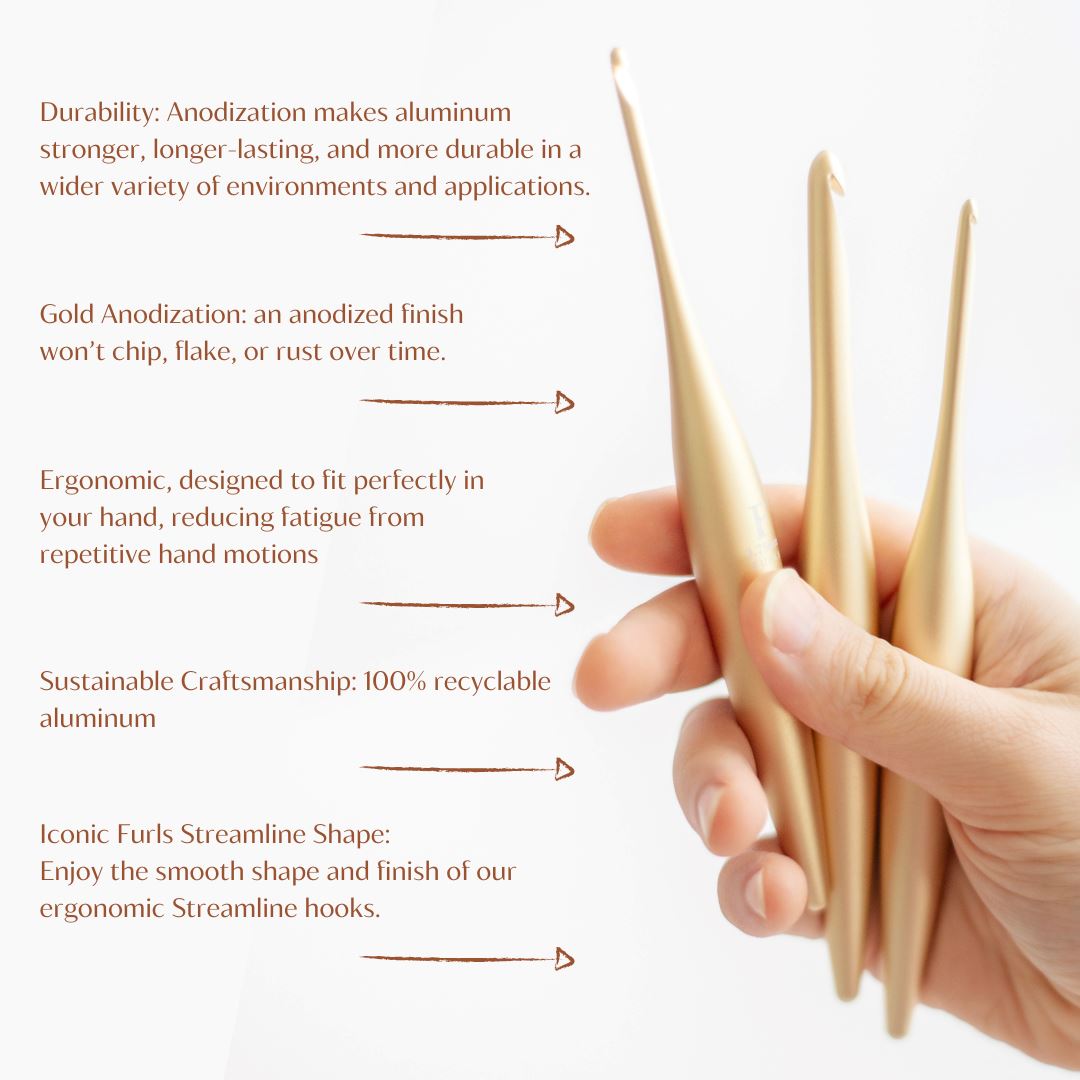
The Changing Tides Cover uses three different hook sizes, we will only be using the H/5.0mm Strawberry Candy Shop hook this week.

Originally I was going to make the pattern in three sizes (small/medium, large/1x and 2x/3x) but I have decided to add a little more customization and break the pattern down into 6 sizes. The pattern is written in size small with changes for medium, large, 1x, 2x and 3x in parenthesis. The cover is very forgiving for size, so base your needed size off the t/shirt size you would normally wear. If you are between sizes you'll need to consider whether or not you want the cover to be more fitted or more loose (again we can customize as we go along as well).
Special Stitches
dc3tog- double crochet three together
yarn over (YO), insert hook into first st, YO and draw up a stitch, (three loops on hook), YO and pull through first two loops (two loops remaining on hook), YO, insert hook in next st, YO and draw up a loop (four loops on hook), YO, pull through first two loops on hook (three loops remaining on hook), YO, insert hook in next st, YO and draw up a loop, pull through first two loops on hook, YO and pull through remaining four loops.
The stitch pattern we are using is the Deep Chevron from our Masterclass, Decoding Chevrons. There is a preview of this lesson that we shared with you in last weeks post. The only difference is that you will work in the back loops only (see Row 2: below)
Gauge
1 pattern repeat (one completed chevron) and 6 rows = 3 1/2” for top portion
Stitch Chart
![]()
NOTE: Sts in red are placed in the back loop only
PATTERN
Begin by chaining 73 (73, 87, 87, 101, 101)
Row 1: 2dc in 4th ch from hook (counts as three dcs in first ch), dc in each of the next 3 chs, [dc3tog] 2x, dc in each of the next 3 chs, *[3dc in next ch] 2x, dc in each of the next 3 chs, [dc3tog] 2x, dc in each of the next 3 chs, repeat from * until one st remains, 3dc in last ch.
Row 2: Ch3 and turn, 2dc in the first st (counts as three dcs in first st), work bolded sts in the back loops only, dc in each of the next 3sts, [dc3tog] 2x, dc in each of the next 3sts, *[3dc in next st] 2x, dc in each of the next 3sts, [dc3tog] 2x, dc in each of the next 3sts, repeat from * until one st remains, 3dc in last st (top of ch3 from previous row).
Repeat row 2; 10 (11, 12, 13, 14, 15) times more for a total of 12 (13, 14, 15, 16, 17) rows.
MAKE TWO
Once you have made two panels, you will lay them flat with the starting chain facing each other in the center, with the right sides facing. Since you worked in the back loops only, you will have to determine which side is more appealing to you. As long as the begging chains of each panel are in the center, you can flip the panels either way so that the nicest side is facing out.

After you have your panels laid out, you are going to crochet them together to form your top. You will crochet across the short sides of the panels only (shown as the top and bottom in the image below.) You will not be placing any sts into the chevron (long) edges. You will also not join the panels completely. Only the portions marked by arrows below will be edged. You will also need to leave the center open.
Before you begin crocheting, see the image below for how you will work around your panels to create the waistline. You will begin at A and end at D.
 Row 1 (RS): Join yarn in corner marked "A" in the diagram above. You will be placing sc stitches along the short sides of the panels to edge them and create your waistline. Each sc stitch will be placed in the ends of the dc rows on the panels. You will work 3 sc in the end of the the first row and 2 sc in the end of the next row, alternating this way around. You will also have a more professional finish if you crochet IN the sts and chains as opposed to around them.
Continue to edge in this way across the top of side A. At the end of this section, ch 3 (4, 5, 6, 7, 8)- this will become your first underarm.
Sc, in the same fashion, across side B. At the end of this section, ch 4 (4, 5, 5, 6, 7)- this will become the back.
Continue to side C, sc in the same fashion. At the end of this section, ch 3 (4, 5, 6, 7, 8)- this will become your second underarm.
Sc, in the same fashion, across side D. Crochet only to the end of this side.
If you placed your sc sts as I recommended (alternating between 3 sc and 2 sc in each row end) your st count will be: 130 (144, 155, 169, 180, 195). [Each short side of the panel should have 30 (33, 35, 38, 40, 43) sts]
Panels labeled with sides A and B will become the left side (when worn), and the panels labeled with sides C and D will become the right side (when worn).

This completes the first row of the waist. You will continue working in rows for the remainder of the waist. These will be completed in short rows, to create shaping in the front of the waistband. St counts are in the <brackets> at the end of each row.
I have also compiled a photo tutorial of assembly and Row 1 of the Changing Tides Beach Cover. You can find the photo tutorial HERE.
Row 2: Ch 1, turn, sc next 15 (15, 17, 17, 19, 19) sts, leaving remaining sts unworked.
Row 3: Ch 1, turn, sc to end of row completed in row 1. <15 (15, 17, 17, 19, 19)>
Row 4: Ch 1, turn, sc next 15 (15, 17, 17, 19, 19) sts and the remaining sts across entire bottom (including chains for underarms and back). <130 (144, 155, 169, 180, 195)>
Row 5: Ch 1, turn, sc next 15 (15, 17, 17, 19, 19) sts, leaving remaining sts unworked.
Row 6: Ch 1, turn, sc to end of row completed in row 5. <15 (15, 17, 17, 19, 19)>
Row 7: Ch 1, turn, sc next 15 (15, 17, 17, 19, 19) sts and the remaining sts across entire bottom. <130 (144, 155, 169, 180, 195)>
Row 8: Ch 1, turn, sc next 10 (10, 12, 12, 14, 14) sts, leaving remaining sts unworked.
Row 9: Ch 1, turn, sc to end of row completed in row 8. <10 (10, 12, 12, 14, 14)>
Row 10: Ch 1, turn, sc next 10 (10, 12, 12, 14, 14) sts and the remaining sts across the entire bottom. <130 (144, 155, 169, 180, 195)>
Row 11: Ch 1, turn, sc next 10 (10, 12, 12, 14, 14) sts, leaving remaining sts unworked.
Row12: Ch 1, turn, sc to end of row completed in row 11. <10 (10, 12, 12, 14, 14)>
Row 13: Ch 1, turn, sc next 10 (10, 12, 12, 14, 14) sts and the remaining sts across the entire bottom. <130 (144, 155, 169, 180, 195)>
Row 14: Ch 1, turn, sc across entire bottom, adding 3 (3, 5, 6, 8, 8) sts evenly. <133 (147, 160, 175, 188, 203)>
Row 15: Ch 1, turn, sc across entire bottom, adding 3 (4, 6, 6, 8, 8) sts evenly. <136 (151, 166, 181, 196, 211)>
Optional Customization Tips
If you would like to make your empire waist band thicker (top to bottom), add additional rows in two row increments (to create a total of 17, 19, 21, etc rows)
If you would like to make the bottom portion wider (if you are in-proportionally larger on bottom than on top), add an extra 14 sts total to your last two rows. *If you are NOT making the band thicker; you would add 7 additional sts to row 14 and 7 additional sts to row 15. If you ARE making the waist band thicker; than you can choose to add those additional 14 sts to any row(s) (I would recommend doing no more than 7 additional sts per row).

This completes the top section of the pattern. Next week we will add the bottom lace chevron section. In week four we will crochet any final customization and finish our covers.
I hope you enjoy this CAL. As we go along, please feel free to reach out to me in the group, Fun with Furls or in the Ravelry listing HERE.